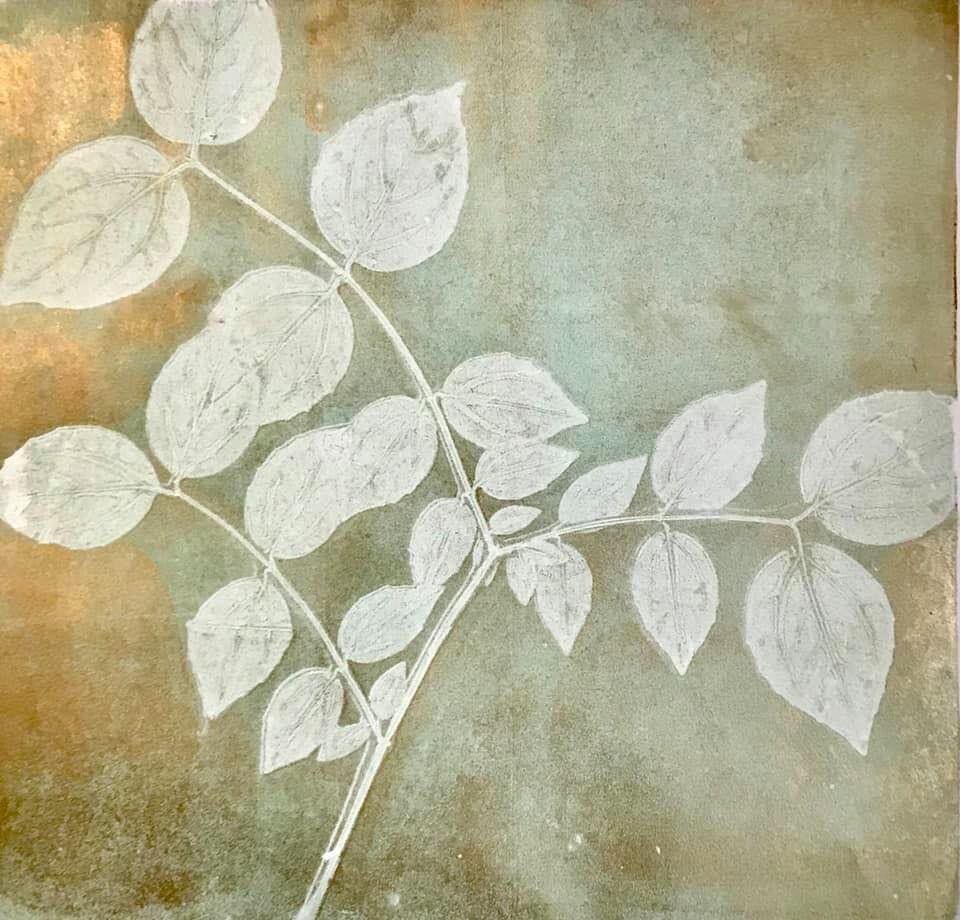
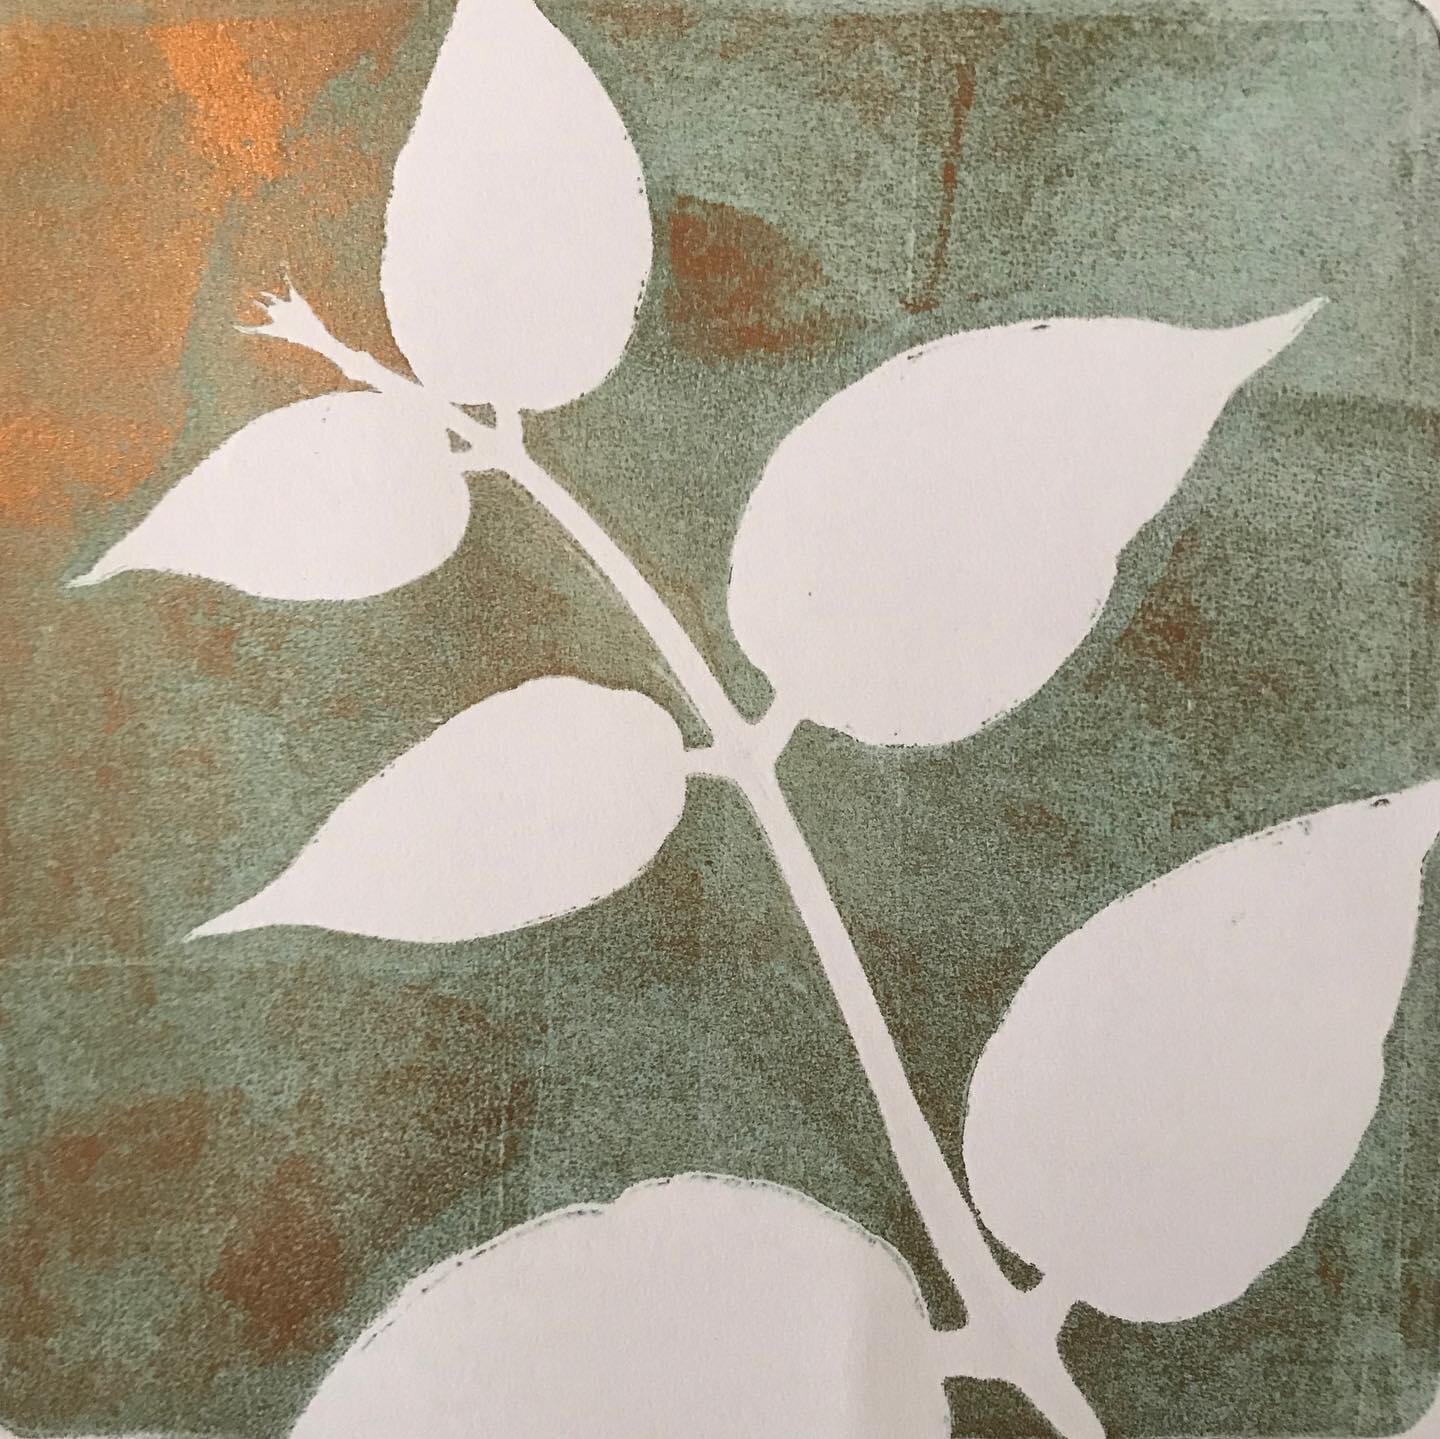
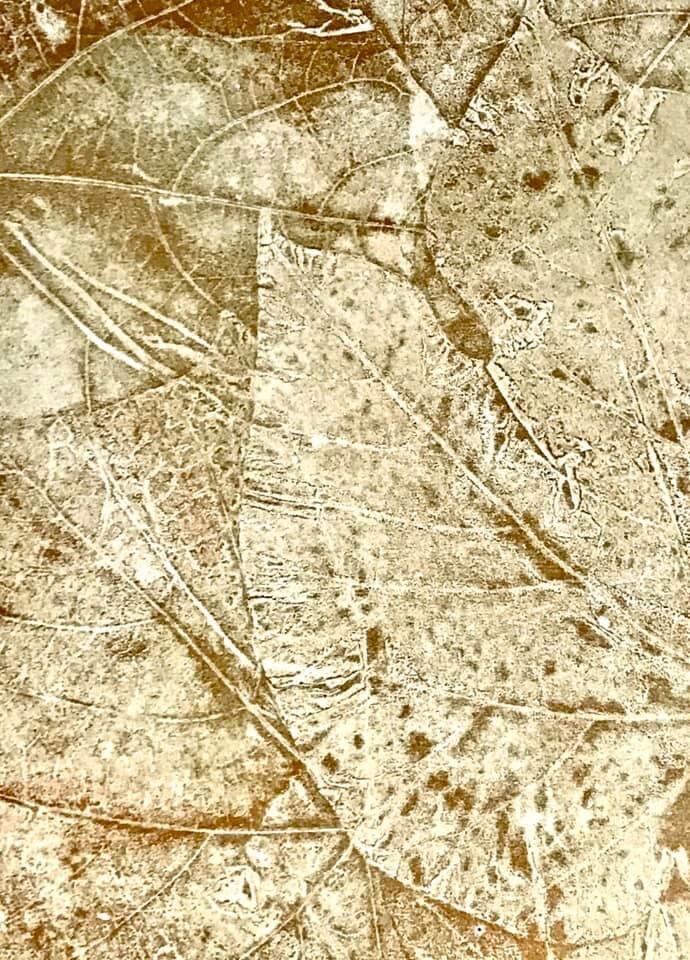
Two different techniques illustrating how I use Golden’s Iridescent Bronze (Fine) with a gel plate for printing botanicals.
Examples: the types of prints that can be achieved with the techniques provided below.
Technique 1: Printing the Ghost within the Mask
Materials needed: gel plate, brayer, OPEN Iridescent Bronze, baby wipes, plant material, and printing paper such as sketch paper, Bristol or Arches 88.
Start by applying about a kidney bean size amount of paint onto the plate. Thinner layers tend to work best for botanical printing.
Using the brayer, roll the paint out to obtain a consistent layer of paint on the plate.
Place the plant material on the plate with the veins of the leaves on the plate for best results. It is easier to have the leaves hang off of the plate for easy removal.
Place a heavier weight paper like Bristol or Arches 88 onto the plate and rub the surface with your hands. Keeping the paper in contact with the plate, pull up the paper and systematically remove the leaves.
Continue until all leave are removed, and then press the paper back down in place and give a final rub with your hands.
This is the pulled print on a piece of Arches 88 paper.
Clean the plate with baby wipes.
Clean the brayer with baby wipes.
Final print. This particular sheet happened to have the watermark for Arches on the paper.
Technique 2: “Offload Print” followed by a Ghost Print
Brayer out a new layer of paint.
Arrange leaf on the plate and use a thin sheet of paper to offload paint from the plate. Newsprint paper works well but is not acid free, so I use sketching paper for this step. Use your hands to rub over the plate.
Remove the paper. This “offload” print can later be used as collage material.
Remove the leaves from the plate.
Pull the print using a heavier paper like Bristol or Arches 88.
Clean the plate with baby wipes.
Clean the brayer with baby wipes.
Final print using Arches 88.


